


08 / 09 / 2026
How to paint metal without bubbles or rust: a guide for professional painters
Painting metal looks straightforward until bubbles appear, rust comes back under the coat, or the enamel starts flaking a few months in. In almost every case the problem is not the paint but the surface preparation and the choice of system. This guide covers the real causes and the procedure that keeps you from doing the job twice.
Quick summary
- Bubbles are almost always moisture, heat or excess film thickness.
- Without degreasing and sanding, no primer will hold.
- Two thin coats outperform one heavy one.
- Rust has to be removed, not covered: if it stays, it comes back.
Why bubbles appear when painting metal
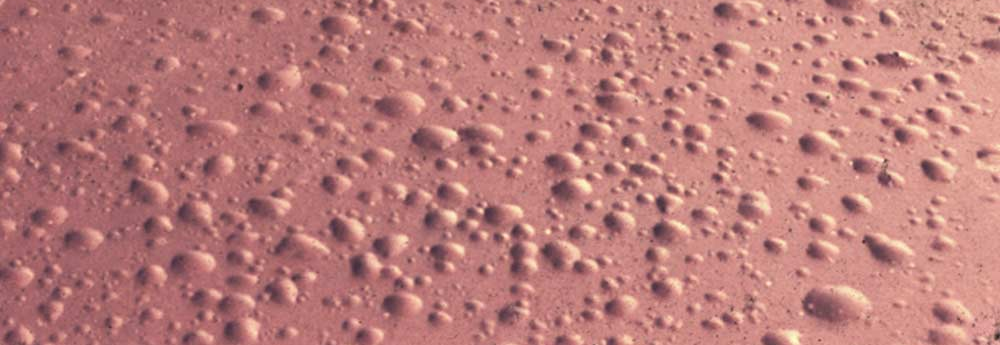
A bubble is air or vapour trapped under the film looking for a way out. It is not a defect in the paint: it is a consequence of the conditions it was applied in. Identifying which of the three causes is at work lets you correct the procedure instead of repeating it.
Trapped moisture
Morning condensation, recent rain, or a surface that never fully dried after washing. The water evaporates under the coat and lifts it. Make sure the metal is dry to the touch and relative humidity is below 80%.
Hot metal
Applying in direct sun makes the surface dry before the inside does: the solvent gets sealed in. Work in the shade or during the hours of lowest sun exposure, with the substrate at a moderate temperature.
Excess film thickness
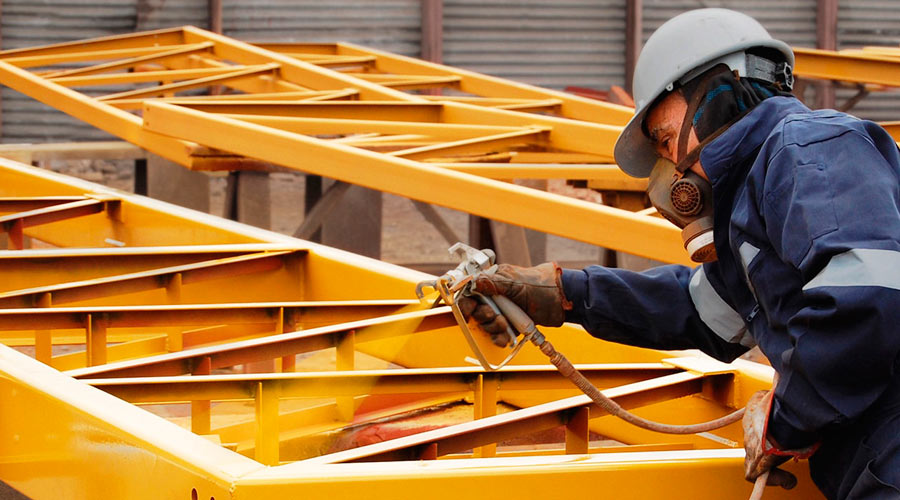
Loading the coat to save a pass is the most common mistake. The outer layer skins over while the inside is still releasing solvent. Two thin coats always ahead of one heavy one.
Surface preparation: 80% of the result
No primer makes up for a poorly prepared surface. With metal the order matters, because each step enables the next: if grease remains, sanding only spreads it; if rust remains, the paint encapsulates it and the process carries on underneath.
1 · Degrease
Rolling oils, handling residue and grease from hands all block adhesion. Use cleaning solvent or a dedicated degreaser, with a clean cloth on every pass.
2 · Remove the rust
Wire brush, abrasive or blasting depending on the extent. Rust is not covered up: if loose material stays, flaking is guaranteed in the medium term.
3 · Create a key
Sanding that breaks the gloss gives the primer mechanical grip. On galvanised steel and aluminium it is essential, as these are particularly smooth surfaces.
4 · Remove the dust
Vacuum or blow down and wipe with a slightly damp cloth. Sanding dust under the primer creates failure points.
Which primer to choose for each metal
The primer is what actually does the work: it adheres to the substrate and protects against rust. The topcoat provides colour, abrasion resistance and UV performance, but it does not replace a correct base.
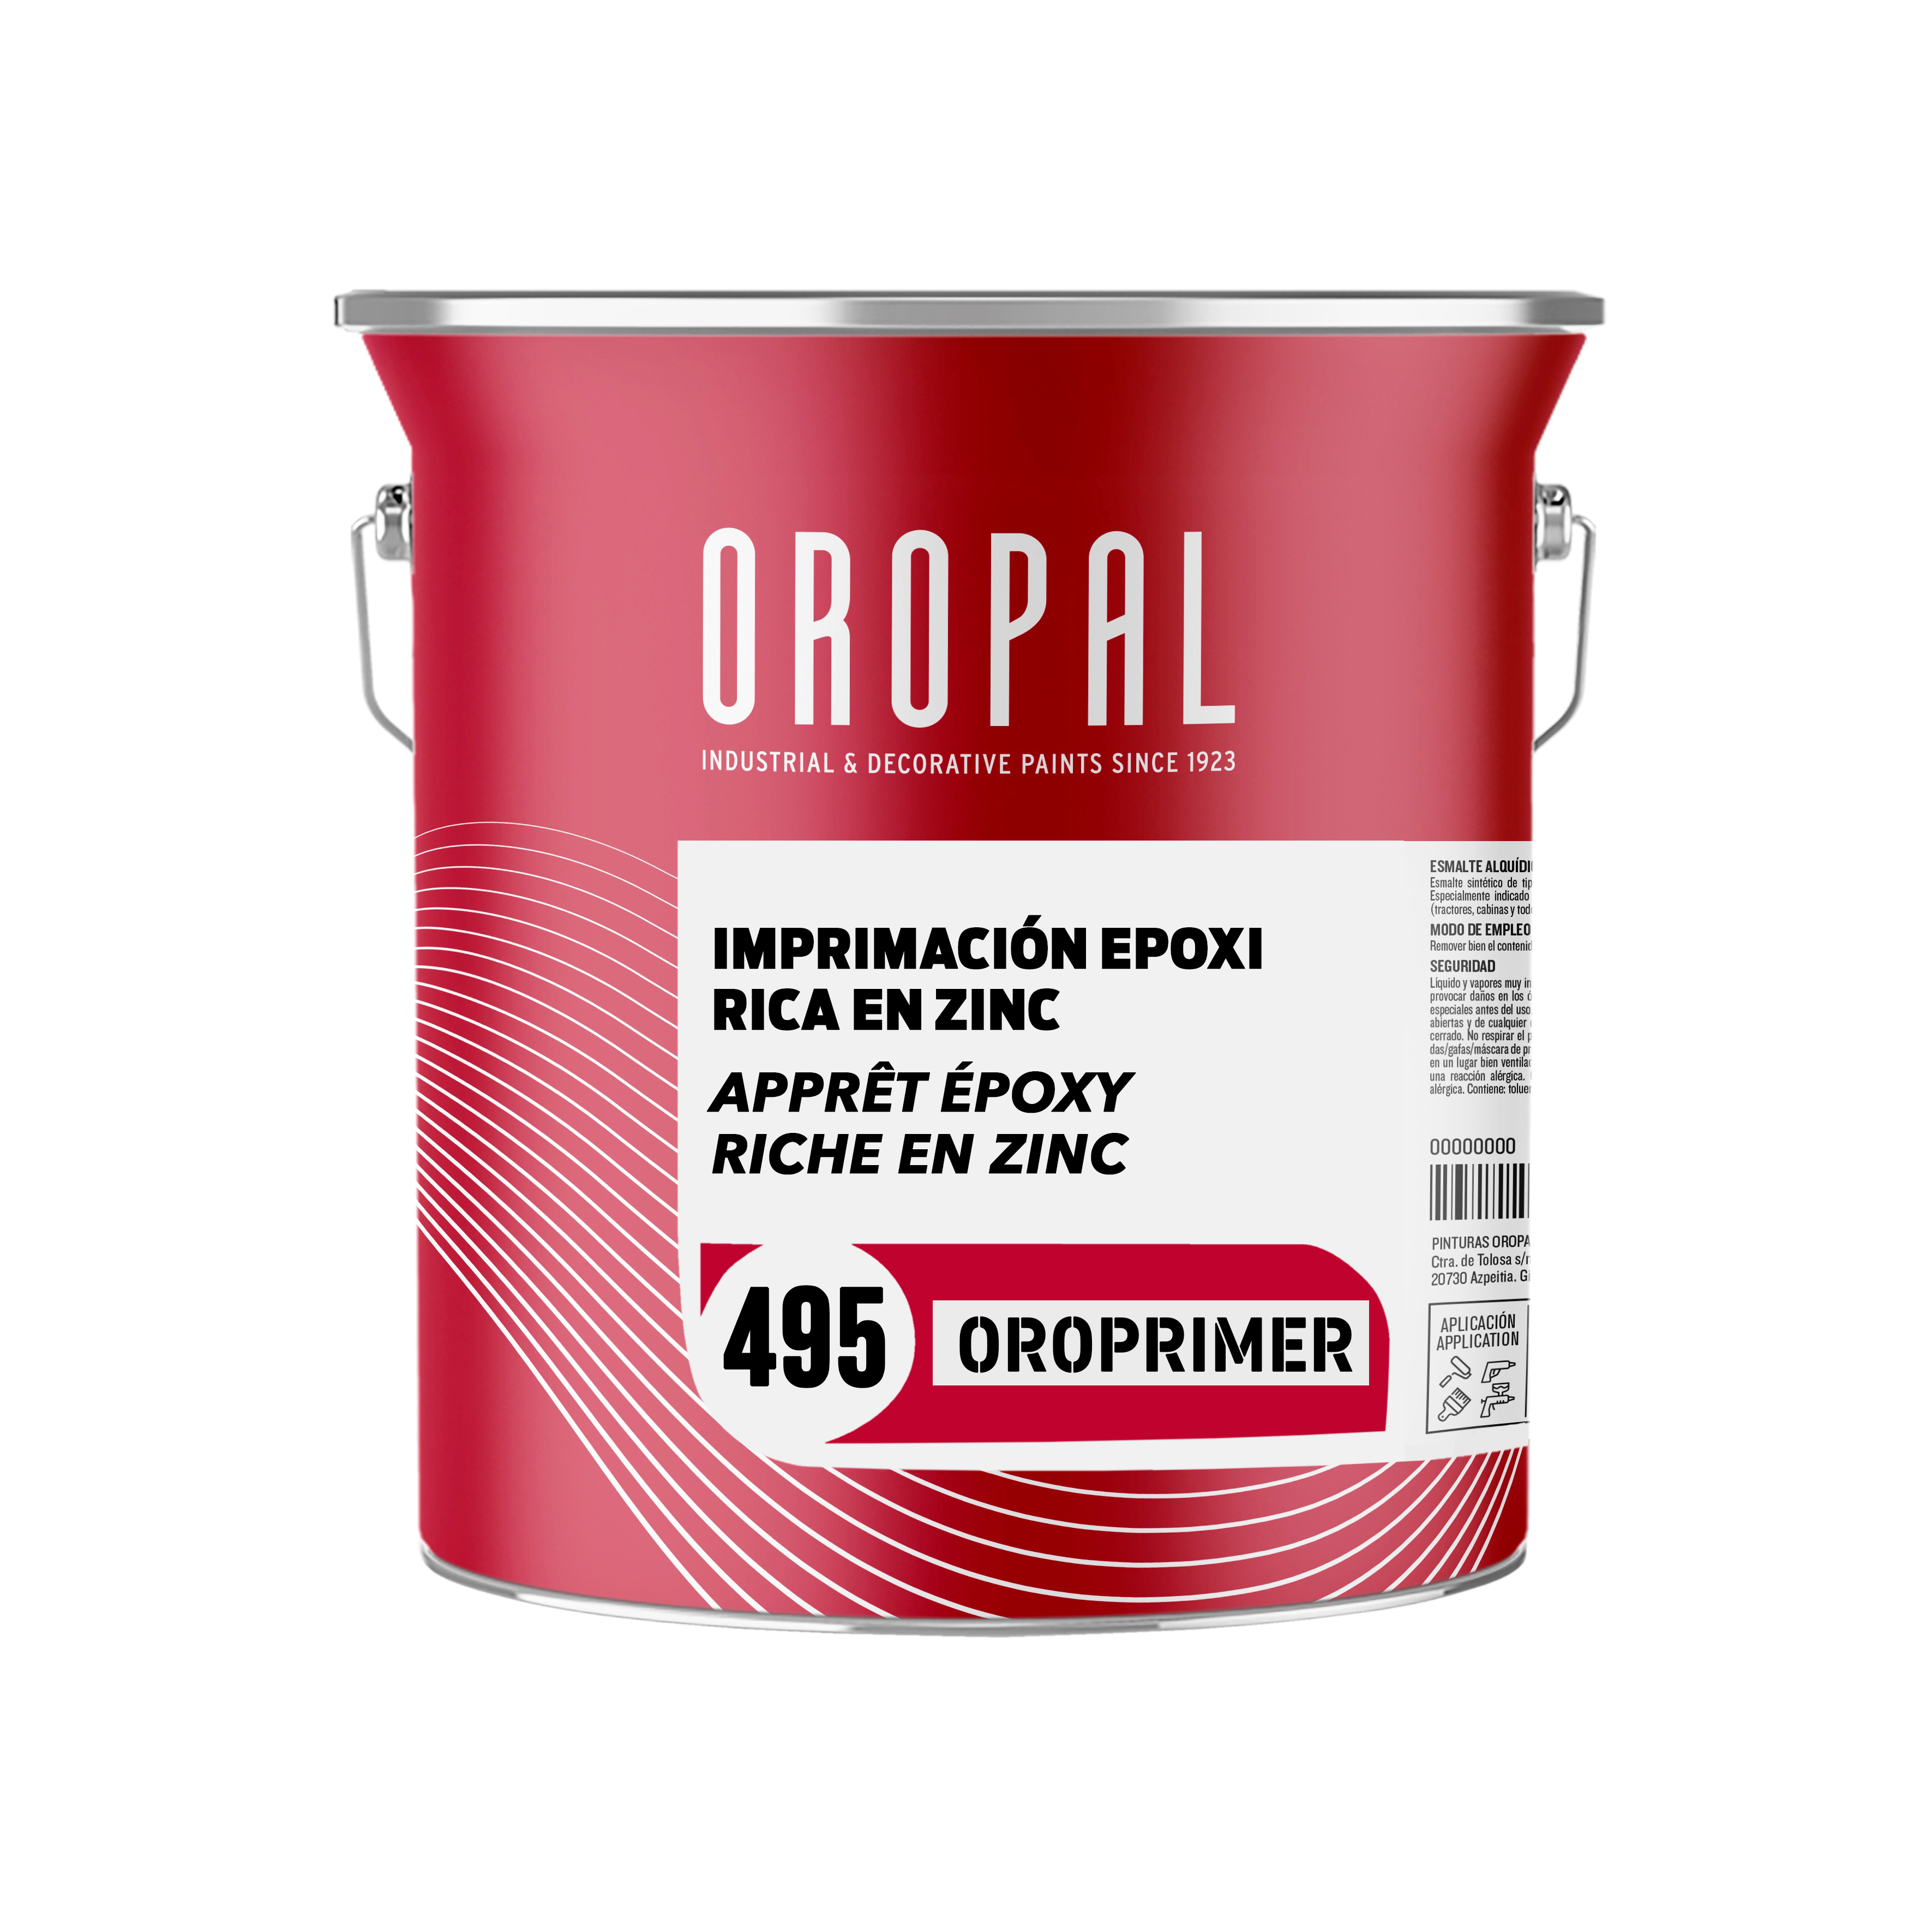
The first decision is one component or two. Single-pack primers handle most maintenance and metalwork jobs: they go on directly and dry fast, like Oroprimer 406, a fast-drying synthetic anti-rust primer for standard work on steel. Two-component epoxies come in when corrosion demands are real — marine or industrial environments — offering far greater adhesion and resistance; there the reference is Oroprimer 495, a zinc-rich epoxy.
On galvanised steel and aluminium the decision is not about components but adhesion: a conventional primer peels off in sheets because it cannot key into such a closed surface. A dedicated phosphating wash primer is required.
Always check the recommended dry film thickness in the technical data sheet. That is the figure that separates real protection from a finish that merely looks right.

Drying and recoating times
Recoating too early traps solvent and ruins the finish: bubbles, wrinkling or loss of gloss. Every product has its own recoat window, and it depends on temperature and humidity, not just the clock.
At low temperatures drying takes considerably longer. Below 10 °C it is worth checking the minimum conditions on the data sheet before applying. And if a long time has passed between coats, light sanding restores the key.
The five most common mistakes
These are procedural failures, not product failures. Fixing them costs no money: it costs discipline.
• Painting over rust. The process keeps advancing under the film. Always remove it before priming.
• Skipping the primer. The topcoat is not formulated to adhere directly or to protect against rust.
• Applying in the sun. Hot surface, uneven drying and bubbles all but guaranteed.
• Not respecting the recoat window. The second coat seals in solvent that has not yet escaped.
• Mixing incompatible systems. A topcoat over the wrong base ends in wrinkling or adhesion failure.
Frequently asked questions
Can you paint metal without primer?
Only when repainting over a sound existing coat, properly sanded and of the same system type. On bare metal the primer is essential: it is what adheres and what protects against rust.
How long should you wait between coats when painting metal?
It depends on the product and the conditions. The technical data sheet states the recoat window; low temperatures or high humidity extend it. Applying too early traps solvent and causes bubbles.
What happens if I paint over damp metal?
The water evaporates under the film and lifts it as bubbles or blisters. The metal must be dry to the touch and free of condensation before the first coat.
How do you paint galvanised steel?
It requires a dedicated adhesion primer, of the phosphating wash primer type such as Oroprimer 455. A conventional primer cannot key into galvanised steel and ends up peeling off in sheets. Light sanding to break the gloss improves grip.
When should you use a two-component primer instead of a single-pack?
When corrosion demands are real: marine or industrial environments, immersion, regulatory requirements, or a structure that has to last decades without intervention. For routine maintenance and metalwork, a single-pack anti-rust primer does the job with less procedure and better lead times.
Got a metal project?
Our technical team assesses the surface, the intended use and the application conditions, then specifies the right system — primer and topcoat included.